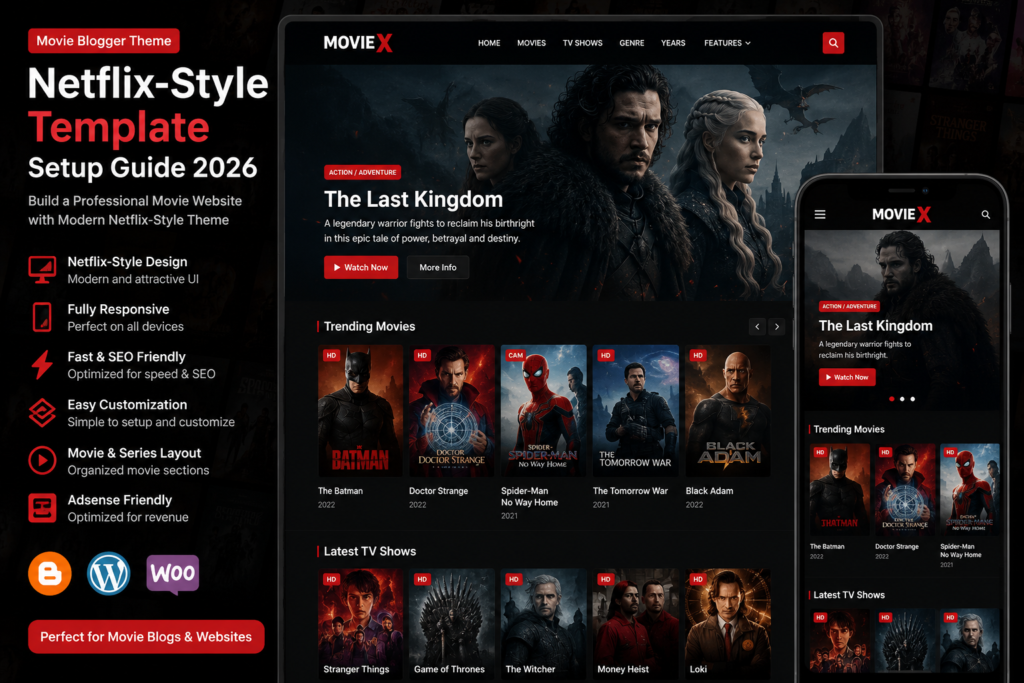

Installing the Probha Blogger Theme correctly ensures that your website looks professional and all template features work without any issues. Whether you’re creating a new Blogger website or updating your existing blog, this guide will walk you through how to install and setup the Probha Blogger Theme step by step.
The Probha Blogger Theme is popular for its clean layout, responsive design, fast-loading pages, and easy customization. If you haven’t downloaded the template yet, you can get the latest version from ProTemplates.in, where the original template files are available for Blogger users.
If you’re looking for more designs after installing Probha, don’t forget to explore our Free Blogger Templates, Responsive Blogger Templates, Portfolio Blogger Templates, and Magazine Blogger Templates collections on QuickStackTools.
Why Proper Installation Matters
Installing the theme properly helps you avoid layout issues, broken widgets, missing menus, and display problems. A correctly configured Blogger template provides a better browsing experience and makes future customization much easier.
Whether your website is a personal blog, magazine, portfolio, business site, or news website, following the proper installation process ensures everything works smoothly.
Step 1 – Download the Probha Blogger Theme
Begin by downloading the latest version of the Probha Blogger Theme.
The template is usually available as a ZIP file containing the Blogger XML template.
After downloading:
- Extract the ZIP file.
- Locate the XML theme file.
- Save it to an easy-to-find folder.
If you’re looking for the original template package, you can download it directly from ProTemplates.in, where the latest version and updates are available.
Step 2 – Backup Your Existing Blogger Theme
Before installing any new Blogger template, always create a backup of your current theme.
Follow these steps:
- Log in to Blogger.
- Open your website dashboard.
- Navigate to Theme.
- Click the drop-down arrow beside Customize.
- Select Backup.
- Save the XML file to your computer.
Creating a backup allows you to restore your previous design whenever necessary.
Step 3 – Upload the XML Template
Now install the new theme.
Simply follow these steps:
- Open Blogger Dashboard.
- Click Theme.
- Select Restore.
- Choose the Probha Blogger Theme XML file.
- Click Upload.
Within a few seconds, Blogger will apply the new template automatically.
Step 4 – Check Your Website
Once installation is complete, open your website in another browser tab.
Verify that:
- Homepage loads correctly.
- Navigation menu works.
- Sidebar widgets appear correctly.
- Footer displays properly.
- Featured images load successfully.
- Mobile version looks responsive.
If everything looks correct, continue with customization.
Step 5 – Configure the Layout
Open:
Blogger Dashboard → Layout
Here you can customize:
- Website Header
- Logo
- Navigation Menu
- Featured Section
- Sidebar
- Footer
- Social Media Icons
- Advertisement Areas
Arrange every widget according to your website structure.
A clean layout improves navigation and makes it easier for visitors to browse your content.
Helpful Resources
If you’re new to Blogger and need additional help with theme installation or customization, you can visit the official Blogger Help Center for detailed tutorials. You can also explore the Blogger Official Website to learn more about Blogger features, settings, and updates.
For website performance recommendations after installation, Google’s PageSpeed Insights tool can help you analyze your site’s loading speed and overall performance.
Discover More Templates
After setting up the Probha Blogger Theme, you may also like exploring other professional templates available on QuickStackTools. Our collection includes Free Blogger Templates, Bio Landing Page Blogger Template, Anicrush Anime Blogger Template. If you’re planning to build websites on another platform, you can also browse our collection of WordPress Themes and other website templates.
You can also visit our About Us, Blog, and Privacy Policy pages to learn more about QuickStackTools and discover newly published template resources.
Continue to the Next Steps
Now that you’ve successfully installed the theme, the next step is customizing colors, fonts, widgets, menus, homepage sections, and other settings to match your website’s style. After customization, test your website on desktop, tablet, and mobile devices to ensure everything works perfectly before publishing your content.